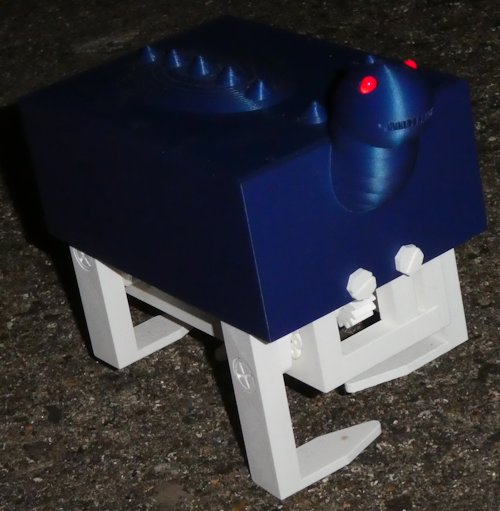
 The Roboboxasaurus is a skin made to fit the Basic Walker and turn it into a walking cartoon robot dinosaur with glowing eyes.
 The Roboboxasaurus is a skin made to fit the Basic Walker and turn it into a walking cartoon robot dinosaur with glowing eyes.
In addition to the printed parts you will require:
You will also need basic soldering equipment or some alternative hookup method.
The example here was printed in PLA although any rigid plastic would work.
| This print is in beta test. Testers have been supplied with all necessary parts. Files will be released soon. |
All prototypes illustrated were printed on a Prusa i3 Mk3 with a 0.4mm nozzle.
Print everything at 0.2mm layer height. You will need some elephants foot compensation, 0.2mm should be enough. Supports are not needed, a circular brim around the tail is incorporated into the design to aid adhesion.
 If your extrusion is correct there may be a few tiny, almost invisible tags of filament on the upper surface in some places where the nozzle finally lifted away, you will feel them as slight prickles; a few seconds with some fine abrasive paper will remove them.
This project includes 3D printed screws. DO NOT FORCE them. They are strong enough for this project but not as strong as metal screws. If one is reluctant to turn coax it, turn it backwards and forwards, going a little further each time ... there is probably a small blob or string in the thread which will quickly wear away.
Remove the brim from around the tail, just tear it off. Smooth any rough remnants.
Connect a wire to the on/off switch and thread it up through the tail. Secure the switch in the slot provided, use a dab of glue if necessary.
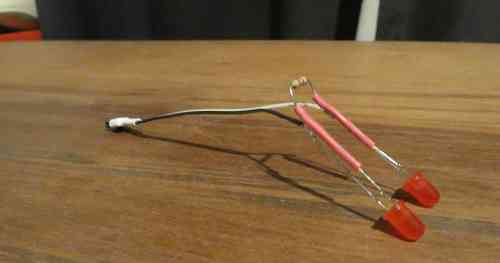
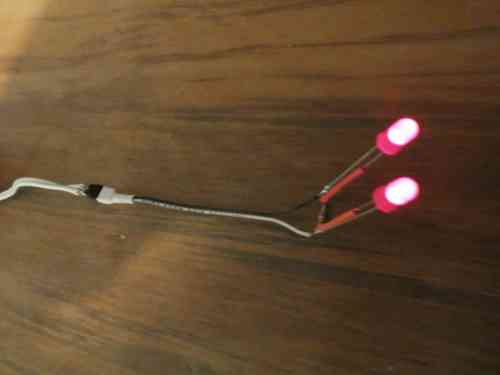
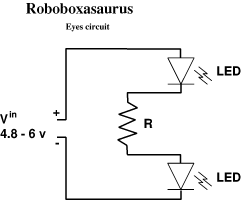 Assemble the eyes. Solder the two LEDs at either end of the resistor being careful to observe polarity, see the circuit diagram. The negative wire on the LED is distinguished by being longer and by a small flat section in the edge of the moulding nearest to it. Slide a section of insulating tube up one wire of each LED to prevent short circuits and bend the resistor wires so the LEDs slide neatly up the tunnels behind the eyes. Test the circuit (just connect it to the battery box, if it doesn't work first time reverse the connection and try again) then secure in place with tape or a dab of glue.
Slide Roboboxasaurus' body over the Basic Walker, it might need a little wiggling as it is a snug fit.
Use the seven sided skin fitting screws to secure the body in place, two on the chest and two at the rear on either side of the tail.
Make all the electrical connections, the eyes are powered by the same circuit as the Basic Walker's motor.
Slide Roboboxasaurus' back/lid in place.
Switch on (under the tail) and watch Roboboxasaurus go...
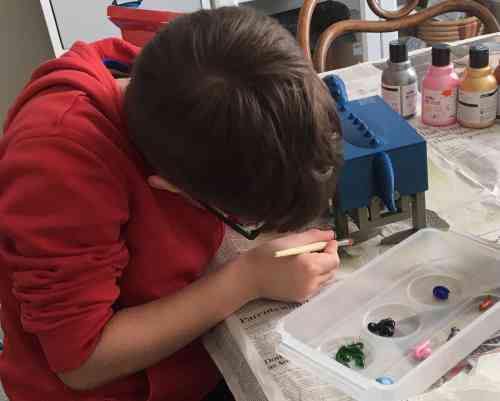 Of course you can adapt Roboboxasaurus as you wish. Here a technician applies camouflage.
Apart from broken parts, print replacements; the commonest problems are: